Amazon Queen
First Tuts on Photo manipulation, Ill try to make it step by step so please bear with me, with the A huge thank you to another lightbender Project Friend, Leon for sharing this great image. This are the two images we are going to work with.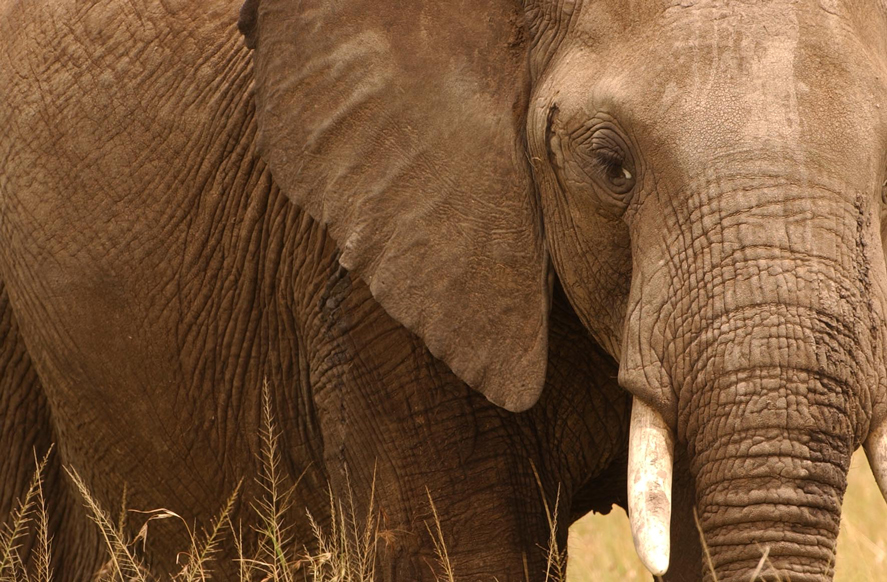
 Lets Manipulate the foreground to match exactly like the BG.
1. Drag the amazon lady image to the elephant.
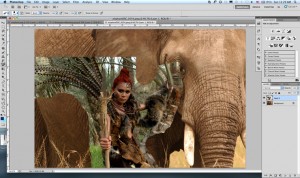
2. Erase or make a garbage mask around the foreground; this is to eliminate excess “garbage” around the image, also to see the placement of the your foreground to the animal.
 3. You can also skip the bullshit i said in no.2 and Directly use your pentool – path to trace your subject. After the labor intensive part; right click on the path to “MAKE SELECTION” radius 1 px.
 4. We can further fix the foreground by clicking on the rectangular marquee tool and choosing refine edge button, set the output with with new layer mask with layer mask, and VIEW on black or any of your choosing. Adjust the image on your liking!
5. We can adjust the elephant image color tone by IMAGE>ADJUSTMENT>LEVEL or CURVES OR HUE and Saturation. This is to make the background blend to the subject.
 6. with some minor tweaks you should be arriving with an image like so. LOL. Sorry I forgot to screen capture the other details but WTF. Its MY First!
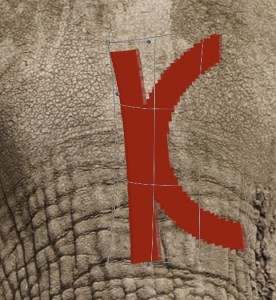
7. To achieve the Logo of on the Elephants forehead draw any icon using a black brush or pencil to a new photoshop file.
8. Copy the hair color of the model using the EYEDROPPER Tool. To show continuity of
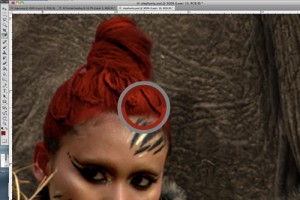
the color red. Using the Paint bucket tool fill your logo design with the color similar to the hair. Select the logo by its color range and drag the selected color to the elephant forehead.  We then follow the elephant’s head bump by warping the logo. EDIT>TRANSFORM>WARP
After all the adjustments. set the logo layer TO HARD LIGHT with 60% Opacity.
8.  Using the Paint Brush tool on the same logo layer we paint the elephant skin creases with the same color to achieve paint leaks; just for aesthetics. Adjust the image and detail further to your liking.
Final Image should look like these: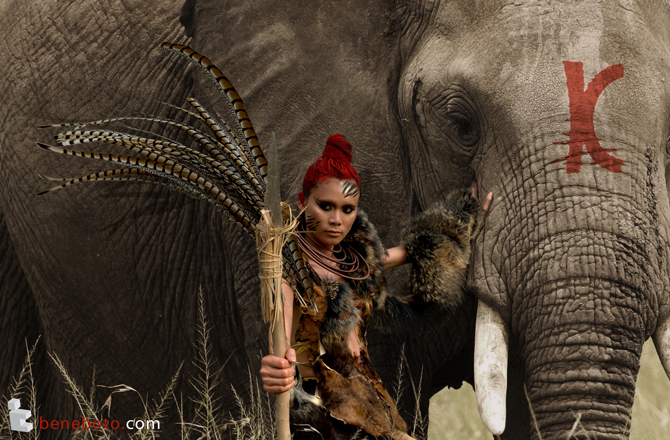
Thanks for bearing! The second tutorial will be on color treatment. As you can observe in the index page the image has a golden tint on it.
manuel