Dubai Tech blogger – GH4 v.1 Skin Test
The Dubai Tech Blogger with its WYSIWYG experimental non-technical grading on how it handles skintone. I manage to gather a spectrum of individuals to see how it handles each. As observed the M31 LUT does not apply to every skintone from my observation it works best for the darker ones. But it all depends on personal taste and the look they want to achieve.
Vimeo’s downsampling will not give you the best look possible. You can download to preview the full 4k.
Also check out my previous blog for the 9 Megapixel exported stills HERE.
To download the raw out of the camera footages you can download it from HERE.
DUBAI TECH BLOGGER
Setup for the test:
GH4 v.1 | C4K CineLike D PROFILE
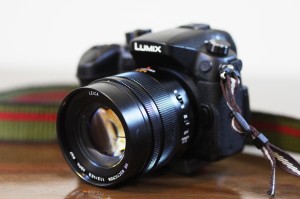
Leica Nocticron with a 42.5mm f/1.2 ISO 400
Music: Good id low idea by Iso Brown (http://www.isobrown.com)
Dubai Tech Blogger has played around with the new Panasonic GH4 takes the impressive specs and performance of the past GH3 and kicks them up a notch. with faster burst shooting, quicker Auto Focus, and a host of other improvements, not to mention tons of new video features. With 4K video, higher bitrate Full HD, focus peaking, zebras, a plethora of image tweaking adjustments and clean, uncompressed HDMI output, the GH4 is at home in the hands of not only advanced and professional still photographers, but also in the hands of advanced and professional videographers.
Disclaimer – this is a pre-production model with firmware v1. and may not be representative of the final image quality from the camera.
_______
BEN IS A DUBAI TECH BLOGGER THAT WRITES MOSTLY ABOUT THE PERSONAL TECHNOLOGY RELATED TIPS AND TUTORIALS. BEST KNOWN FOR DEVELOPING THIS BLOG WHICH’S PURPOSE IS TO SHARE INFORMATION ABOUT FREE RESOURCES.
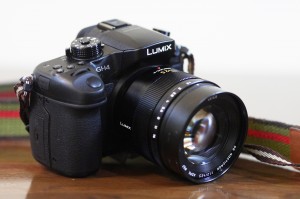
I made a quick selection of frames on the skin tone experiment video I will be posting later on the GH4, straight from the RAW files, heres some unedited 4k originals in TIFF image format. A single exported frame is 70mb. Click on image for 4k png images, or download the TIFF zip
HERE.
Combined with the Leica Nocticron with a 42.5mm focal length and bright f1.2 aperture. Its the perfect short telephoto lens to bring around. With the equivalent coverage of 85mm, making it ideal for portrait work or capturing tighter views than a standard lens. With the optical stabilisation of the Nocticron it produced sharp clips able to stand my handheld guerilla style shooting. It was my perfect lens indeed!
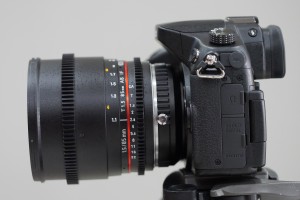
samyang 85mm cinelens + focal reducer on GH4
Focus peaking was one of the primary demands for the GH3 camera, unfortunately was not able to come into the firmware update. Alas! It finally arrived! GH4 has focus peaking and zebras to help with manual focusing and video recording by highlighting the areas of highest contrast. With the built-in Zebra patterns and peaks rest assured all our shots are tack sharp!
Jan 17 2012|Categories: FEATURED, GRAPHIC|Tags: ben carino, beneboto, dubai photographer, dubai videographer, graphic artist, Leon Pangilinan, photoshop, Photoshop Tutorial, Rocky Gathercole, UNITE FOR HOPE
Another year has passed! 2011 has been a fruitful year for all of us and what a great way to start 2012 is by giving.
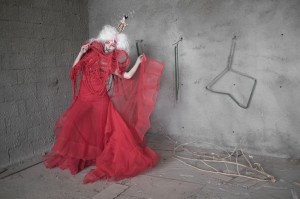
As you can see the original image seems flat and needs tons of clearing. A lot of clutter which basically distracts the viewer to the subject.
1. First we want to do is to clean up the image using the “patch tool-ticked to source”, by dragging the selected area to the cleaner part on the image these instantly clones the texture of the selected part to the new one . Also used was a clone tool (soft brush-opacity 53).
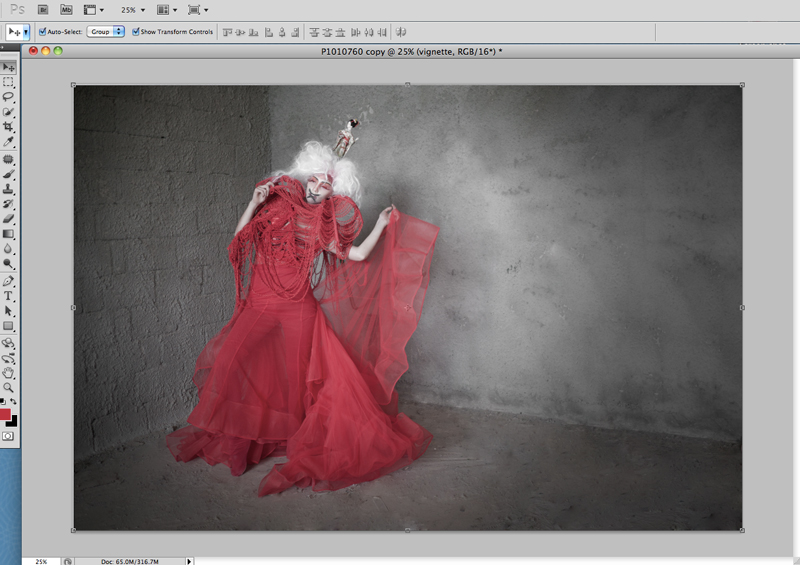
Applying the vignette and some minor color correction we get these. The vignette further emphasizes more towards the subject giving it more impact to the image.
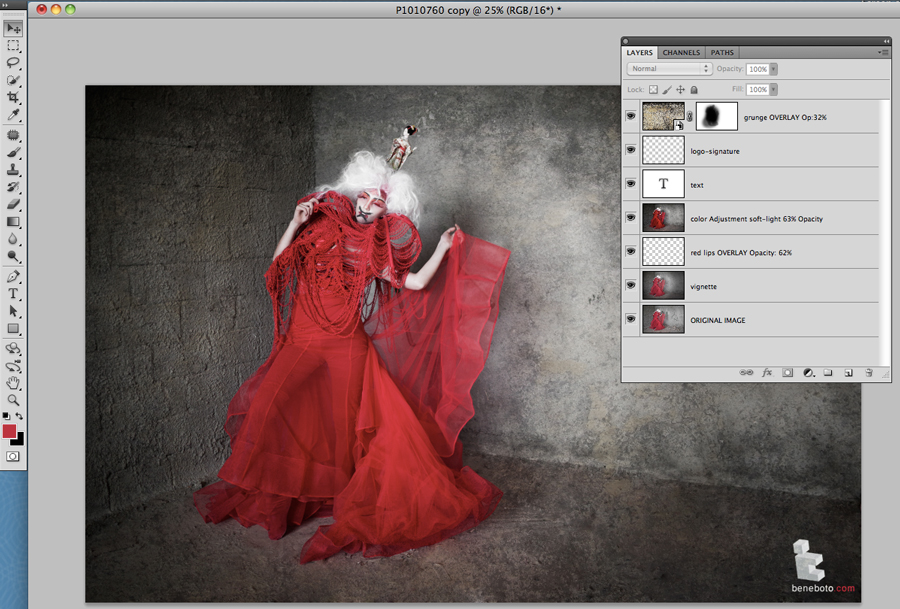
On the Third part I will just be breaking down the layers in elementary description to show how I derived the final look of the Image.
The Project was facilitated by LIGHTBENDER PROJECT Dubai. It was a Charity shoot led by Noel Pangilinan, the President of the group.
Model : Jana Leontschuk
Designer : Rocky Gathercole
MUA : Ivy Kep Peralta
Photo/Post: Ben Carino
Sep 24 2011|Categories: FEATURED, MOVING PICTURES, TIPS/DIY|Tags: 20mm, ben carino, beneboto, beneskates, black and white, Cineskates, DIY Beneboto, DIY Cine Slider, DIY cineskates, DIY Dolly, DIY Gorillapod, DIY Kickstarter, DIY Skates, DIY Slider, dubai photographer, dubai videographer, ep1, frugal photographer., gh1, graphic artist, timelapse
DIY Gorilla Skates from Ben Carino on Vimeo.
The Idea came from Kickstarter, the goal is to create an inexpensive DIY dolly that can somehow have the flexibility to create professional shots, rotate around objects, sliding, gliding and panning shots.
Aug 30 2011|Categories: FEATURED, PHOTOGRAPHY, TIPS/DIY|Tags: 14-45mm, action, ben carino, beneboto, dubai photographer, ep1, graphic artist, lighting deconstruction, manny paquiao image, strobe, strobing, tutorial, videographer
My first attempt on 3 point lighting. I tried to deconstruct a lighting similar to
Howard Schartz image on Manny Paquiao as shown here: So, Deconstructing the image it We Get:
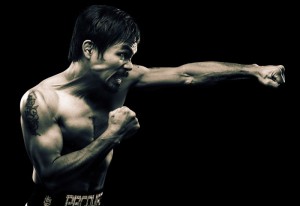
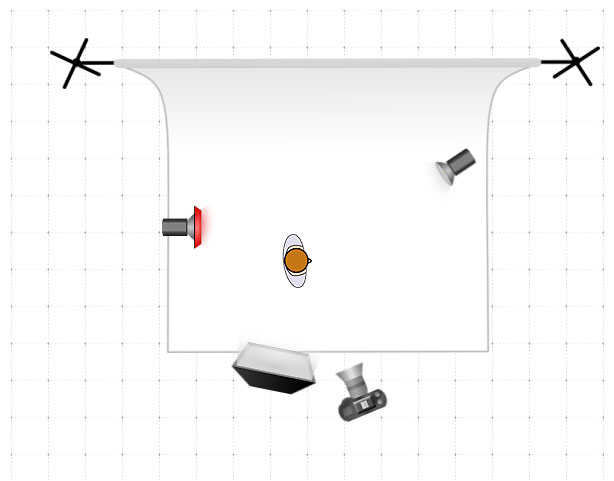
1. A softbox Above the Subject.
2. A Strobe at the back
3. Another infront.
Modifying mine with a red gel. Diagram Below: Diagram courtesy of lightingdiagrams.com.
Post process will be on my next entry. Thanks for Reading!
.
Jun 19 2011|Categories: FEATURED, GRAPHIC, TIPS/DIY|Tags: amazon queen, ben carino, beneboto, dubai, first, graphic artist, Leon Pangilinan, Lightbender, manipulation, photmanipulation, photoshop, queen of the jungle, Rocky Gathercole, tutorial
First Tuts on Photo manipulation, Ill try to make it step by step so please bear with me, with the A huge thank you to another lightbender Project Friend,
Leon for sharing this great image. This are the two images we are going to work with.
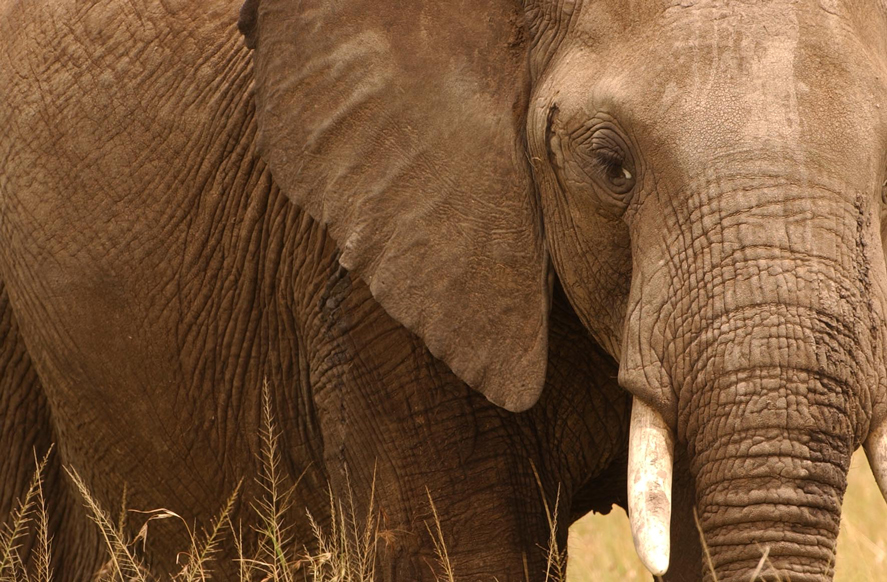
 Lets Manipulate the foreground to match exactly like the BG.
1. Drag the amazon lady image to the elephant.
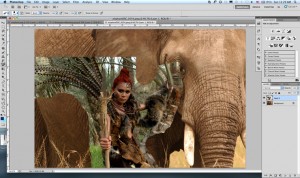
2. Erase or make a garbage mask around the foreground; this is to eliminate excess “garbage” around the image, also to see the placement of the your foreground to the animal.
 3. You can also skip the bullshit i said in no.2 and Directly use your pentool – path to trace your subject. After the labor intensive part; right click on the path to “MAKE SELECTION” radius 1 px.
 4. We can further fix the foreground by clicking on the rectangular marquee tool and choosing refine edge button, set the output with with new layer mask with layer mask, and VIEW on black or any of your choosing. Adjust the image on your liking!
5. We can adjust the elephant image color tone by IMAGE>ADJUSTMENT>LEVEL or CURVES OR HUE and Saturation. This is to make the background blend to the subject.
 6. with some minor tweaks you should be arriving with an image like so. LOL. Sorry I forgot to screen capture the other details but WTF. Its MY First!
7. To achieve the Logo of on the Elephants forehead draw any icon using a black brush or pencil to a new photoshop file.
8. Copy the hair color of the model using the EYEDROPPER Tool. To show continuity of
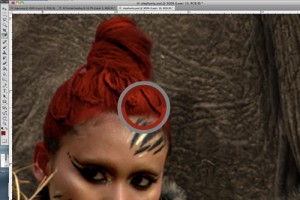
the color red. Using the Paint bucket tool fill your logo design with the color similar to the hair. Select the logo by its color range and drag the selected color to the elephant forehead.  We then follow the elephant’s head bump by warping the logo. EDIT>TRANSFORM>WARP
After all the adjustments. set the logo layer TO HARD LIGHT with 60% Opacity.
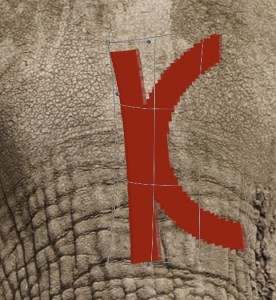
8.  Using the Paint Brush tool on the same logo layer we paint the elephant skin creases with the same color to achieve paint leaks; just for aesthetics. Adjust the image and detail further to your liking.
Final Image should look like these: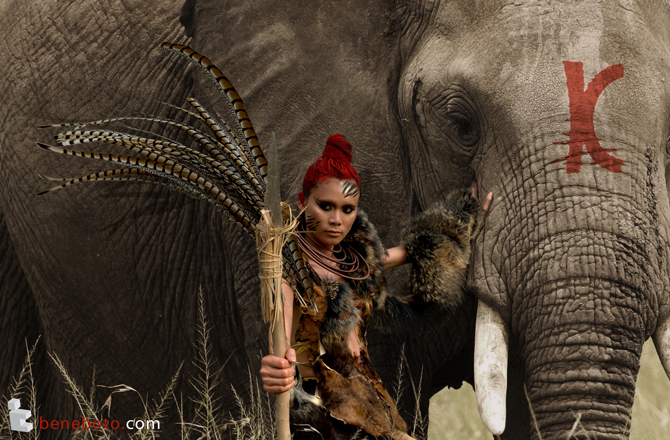
Thanks for bearing! The second tutorial will be on color treatment. As you can observe in the index page the image has a golden tint on it.
“Chill to the Spine”
Designer: Rocky Gathercole
HMUA:Bobby Caparas & Ivy Peralta
Model: Lora Muratova, Eleanor Charmagne, Collins Viara Angelova
LightBender Project
Video&Editing: www.beneboto.com

 I made a quick selection of frames on the skin tone experiment video I will be posting later on the GH4, straight from the RAW files, heres some unedited 4k originals in TIFF image format. A single exported frame is 70mb. Click on image for 4k png images, or download the TIFF zip


Recent Comments