Aug 30 2011|Categories: FEATURED, PHOTOGRAPHY, TIPS/DIY|Tags: 14-45mm, action, ben carino, beneboto, dubai photographer, ep1, graphic artist, lighting deconstruction, manny paquiao image, strobe, strobing, tutorial, videographer
My first attempt on 3 point lighting. I tried to deconstruct a lighting similar to
Howard Schartz image on Manny Paquiao as shown here: So, Deconstructing the image it We Get:
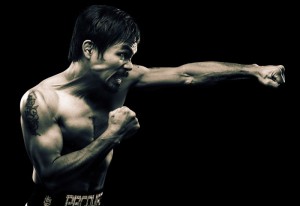
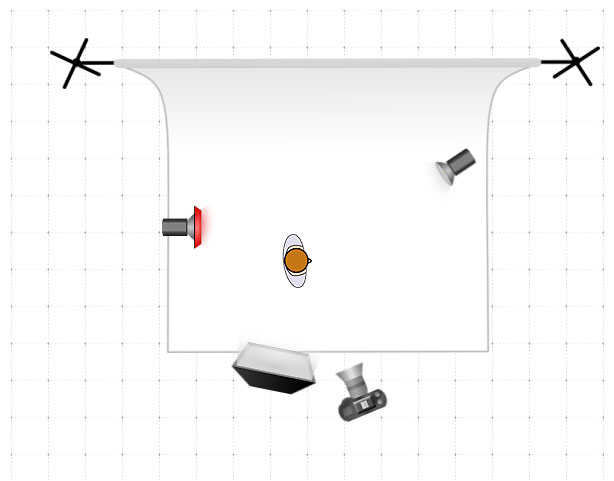
1. A softbox Above the Subject.
2. A Strobe at the back
3. Another infront.
Modifying mine with a red gel. Diagram Below: Diagram courtesy of lightingdiagrams.com.
Post process will be on my next entry. Thanks for Reading!
.
Aug 3 2011|Categories: FEATURED, GRAPHIC, PHOTOGRAPHY|Tags: amazon queen, beneboto, blush by taz, color grading, dubai photographer, dubai videographer, graphic artist, grate make-up, Lightbender, pavitra raju, post process, Rocky Gathercole, videographer, workshop
Another funshoot from the lightbender project. For now, will show the layers Used to achieve the look. I know some some photoshop artist can reverse the the workflow and achieve the final image just by referring through layers. O lazy Me…
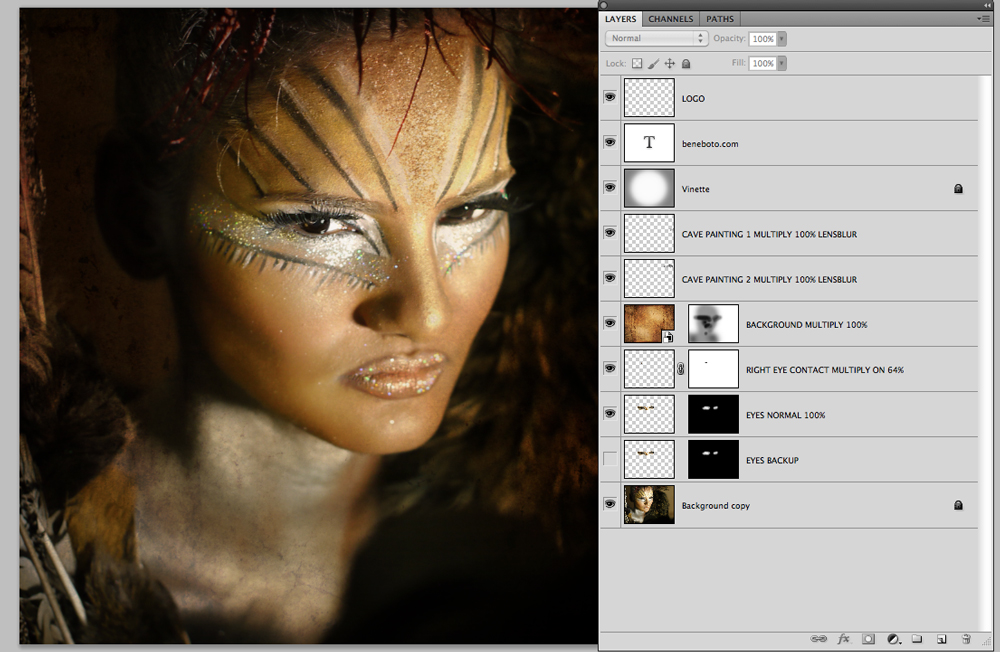
Have A great day reversing!
Jul 31 2011|Categories: FEATURED, GRAPHIC, PHOTOGRAPHY, TIPS/DIY|Tags: beneboto, buy eye-fi dubai, buy eye-fi in dubai, dubai, dubai buy eyefi, dubai eyefi, dubai photographer, dubai videographer, evo showroom shiek zayed, eye-fi, eye-fi beneboto, eye-fi memory, eye-fi x2 pro 8 gb, eyefi wireless dubai, frugal photographer., photography, product shoot, shooting moshi ad, where to buy eyefi in dubai
Product Shoots can be costly it involves a lot of time planning and manpower. But in these setup i was able to do the shoot in a frugal, least costly, guerilla-like way, maintaining the class and quality of the Advert! The project was done on a very tight deadline, no time to set-up lightboxes; manpower whatnots, a then and there situation where the client need to see the output within the day.

The setup was quite easy just an iPhone for lighting a foamboard. Another great way to view images in realtime is using an Eye-fi x2 card. These product has been a great help on the project giving me an instant preview of the shoot directly on Lightroom see setup HERE.; giving wireless tethering on any apple, PC, any IOS devices or any android devices. GOOGLE IT!
Another Great work from RG.
Tribal in the City
Designer: Rocky Gathercole
HMU: Blush-By Taz | Ivy Peralta
Models: Iviang Barcenilla Israel
Pavithra Raju
Ann Llagas
Shot and Edited: Ben Carino
beneboto.com
Emirates Aviation
A Lightbender Project
qoute7
“Are you an Enemy or a Dangerous Friend?”
A great Concept by the Lightbender Project. An inspiration venturing the wild side of the africa in the hustle and buzzle of the city.
Designer no other than the eclectic Rocky Gathercole of Katta Couture. HMU by Blush By Taz and Ivy Peralta.
Qoute6
“I am stronger than Depression and braver than Loneliness and nothing will ever exhaust me.”
EAT PRAY LOVE
Jun 19 2011|Categories: FEATURED, GRAPHIC, TIPS/DIY|Tags: amazon queen, ben carino, beneboto, dubai, first, graphic artist, Leon Pangilinan, Lightbender, manipulation, photmanipulation, photoshop, queen of the jungle, Rocky Gathercole, tutorial
First Tuts on Photo manipulation, Ill try to make it step by step so please bear with me, with the A huge thank you to another lightbender Project Friend,
Leon for sharing this great image. This are the two images we are going to work with.
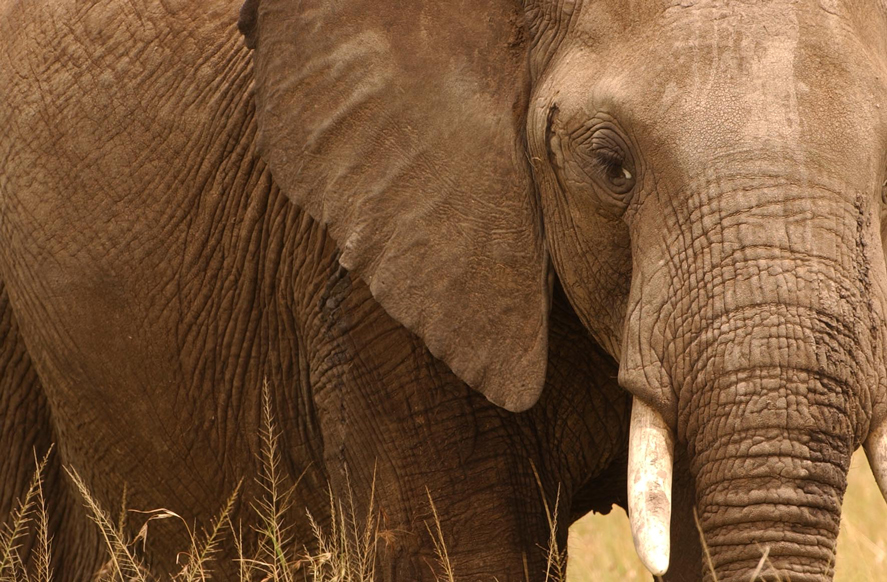
 Lets Manipulate the foreground to match exactly like the BG.
1. Drag the amazon lady image to the elephant.
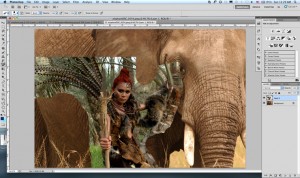
2. Erase or make a garbage mask around the foreground; this is to eliminate excess “garbage” around the image, also to see the placement of the your foreground to the animal.
 3. You can also skip the bullshit i said in no.2 and Directly use your pentool – path to trace your subject. After the labor intensive part; right click on the path to “MAKE SELECTION” radius 1 px.
 4. We can further fix the foreground by clicking on the rectangular marquee tool and choosing refine edge button, set the output with with new layer mask with layer mask, and VIEW on black or any of your choosing. Adjust the image on your liking!
5. We can adjust the elephant image color tone by IMAGE>ADJUSTMENT>LEVEL or CURVES OR HUE and Saturation. This is to make the background blend to the subject.
 6. with some minor tweaks you should be arriving with an image like so. LOL. Sorry I forgot to screen capture the other details but WTF. Its MY First!
7. To achieve the Logo of on the Elephants forehead draw any icon using a black brush or pencil to a new photoshop file.
8. Copy the hair color of the model using the EYEDROPPER Tool. To show continuity of
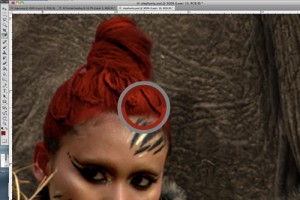
the color red. Using the Paint bucket tool fill your logo design with the color similar to the hair. Select the logo by its color range and drag the selected color to the elephant forehead.  We then follow the elephant’s head bump by warping the logo. EDIT>TRANSFORM>WARP
After all the adjustments. set the logo layer TO HARD LIGHT with 60% Opacity.
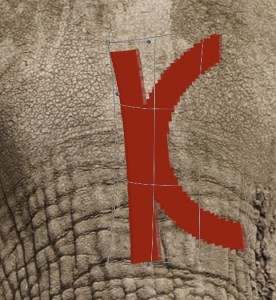
8.  Using the Paint Brush tool on the same logo layer we paint the elephant skin creases with the same color to achieve paint leaks; just for aesthetics. Adjust the image and detail further to your liking.
Final Image should look like these: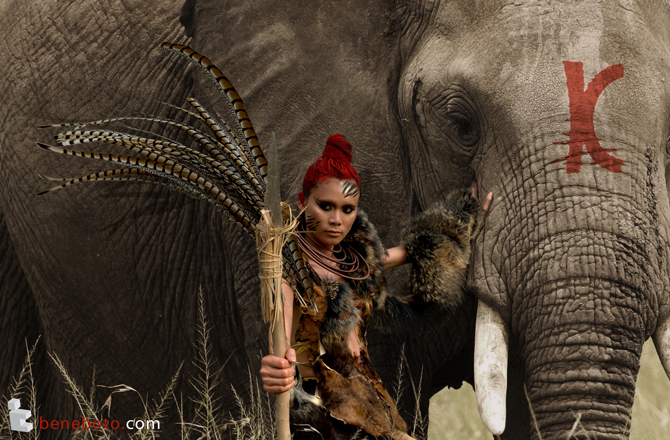
Thanks for bearing! The second tutorial will be on color treatment. As you can observe in the index page the image has a golden tint on it.
These has been my sole video sharing site ve been using for some time now. Vimeo has been specialized on the “Pro” side. You dont get all the useless nonsense we see on youtube. Other than that; we dont see that 10minute limit given on youtube. Not much annoying ads which lets you concentrate more on watching the clips.
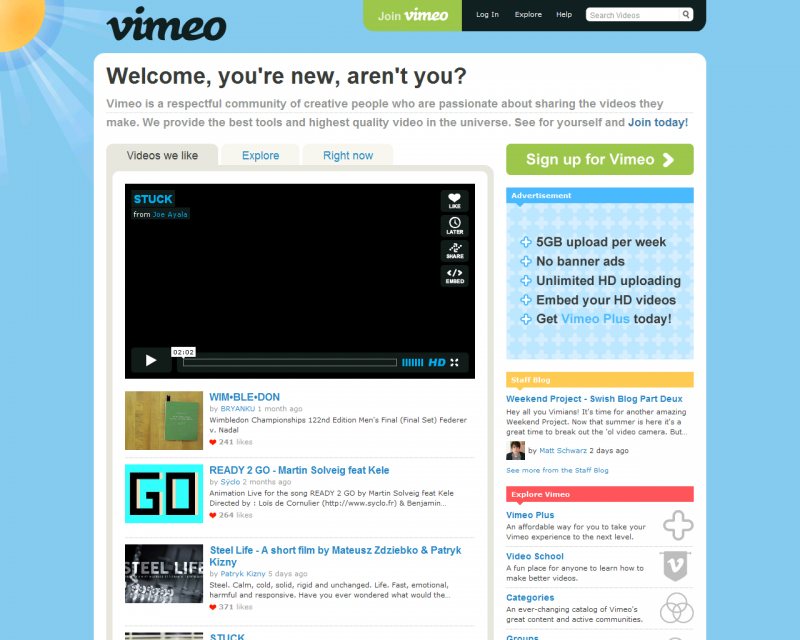
The only drawback on the site: you only get a 500mb a week of space.


Recent Comments