Jan 17 2012|Categories: FEATURED, GRAPHIC|Tags: ben carino, beneboto, dubai photographer, dubai videographer, graphic artist, Leon Pangilinan, photoshop, Photoshop Tutorial, Rocky Gathercole, UNITE FOR HOPE
Another year has passed! 2011 has been a fruitful year for all of us and what a great way to start 2012 is by giving.
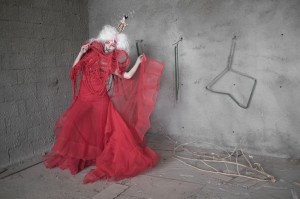
As you can see the original image seems flat and needs tons of clearing. A lot of clutter which basically distracts the viewer to the subject.
1. First we want to do is to clean up the image using the “patch tool-ticked to source”, by dragging the selected area to the cleaner part on the image these instantly clones the texture of the selected part to the new one . Also used was a clone tool (soft brush-opacity 53).
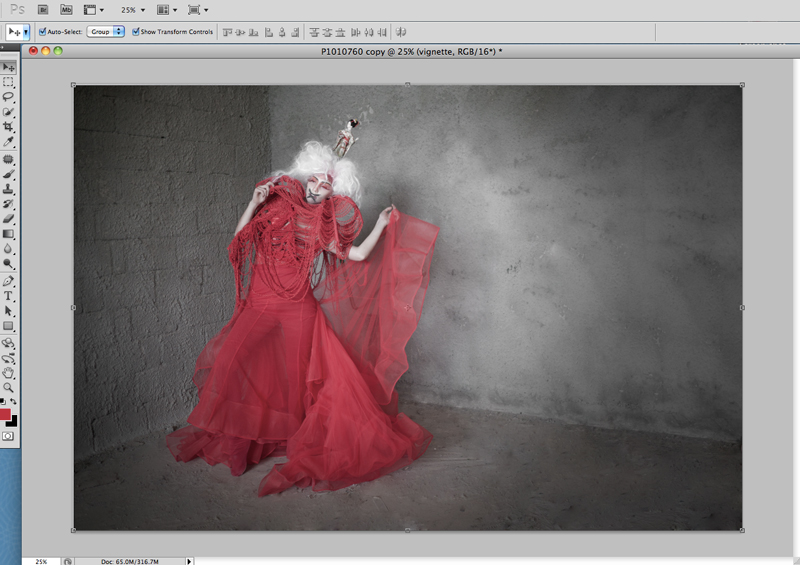
Applying the vignette and some minor color correction we get these. The vignette further emphasizes more towards the subject giving it more impact to the image.
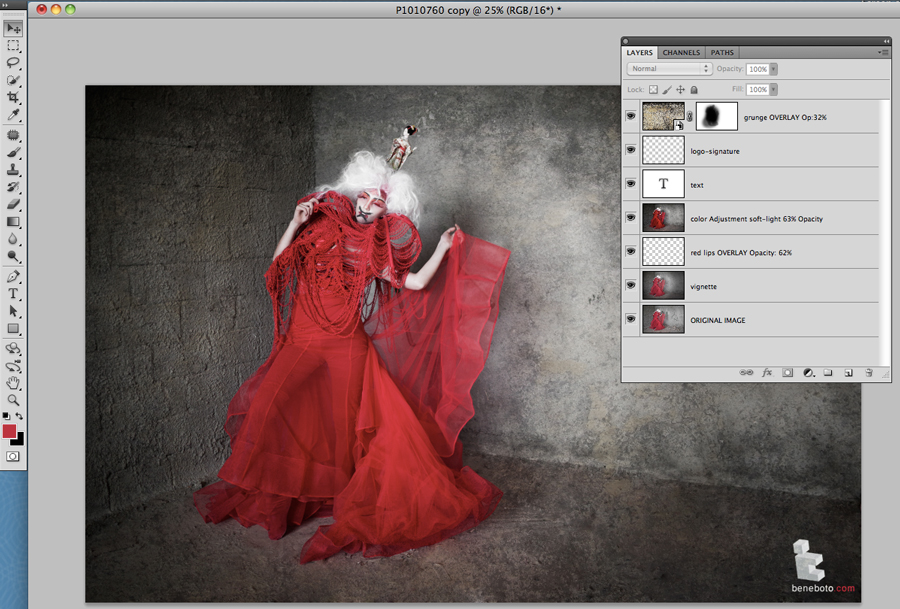
On the Third part I will just be breaking down the layers in elementary description to show how I derived the final look of the Image.
The Project was facilitated by LIGHTBENDER PROJECT Dubai. It was a Charity shoot led by Noel Pangilinan, the President of the group.
Model : Jana Leontschuk
Designer : Rocky Gathercole
MUA : Ivy Kep Peralta
Photo/Post: Ben Carino
Aug 3 2011|Categories: FEATURED, GRAPHIC, PHOTOGRAPHY|Tags: amazon queen, beneboto, blush by taz, color grading, dubai photographer, dubai videographer, graphic artist, grate make-up, Lightbender, pavitra raju, post process, Rocky Gathercole, videographer, workshop
Another funshoot from the lightbender project. For now, will show the layers Used to achieve the look. I know some some photoshop artist can reverse the the workflow and achieve the final image just by referring through layers. O lazy Me…
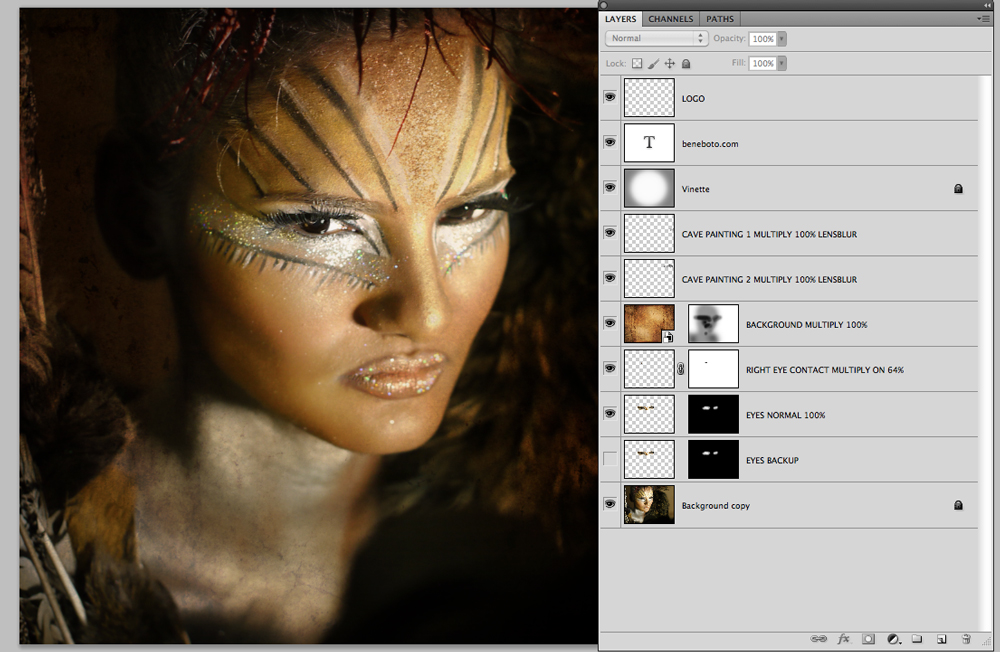
Have A great day reversing!
Jul 31 2011|Categories: FEATURED, GRAPHIC, PHOTOGRAPHY, TIPS/DIY|Tags: beneboto, buy eye-fi dubai, buy eye-fi in dubai, dubai, dubai buy eyefi, dubai eyefi, dubai photographer, dubai videographer, evo showroom shiek zayed, eye-fi, eye-fi beneboto, eye-fi memory, eye-fi x2 pro 8 gb, eyefi wireless dubai, frugal photographer., photography, product shoot, shooting moshi ad, where to buy eyefi in dubai
Product Shoots can be costly it involves a lot of time planning and manpower. But in these setup i was able to do the shoot in a frugal, least costly, guerilla-like way, maintaining the class and quality of the Advert! The project was done on a very tight deadline, no time to set-up lightboxes; manpower whatnots, a then and there situation where the client need to see the output within the day.

The setup was quite easy just an iPhone for lighting a foamboard. Another great way to view images in realtime is using an Eye-fi x2 card. These product has been a great help on the project giving me an instant preview of the shoot directly on Lightroom see setup HERE.; giving wireless tethering on any apple, PC, any IOS devices or any android devices. GOOGLE IT!
Jun 19 2011|Categories: FEATURED, GRAPHIC, TIPS/DIY|Tags: amazon queen, ben carino, beneboto, dubai, first, graphic artist, Leon Pangilinan, Lightbender, manipulation, photmanipulation, photoshop, queen of the jungle, Rocky Gathercole, tutorial
First Tuts on Photo manipulation, Ill try to make it step by step so please bear with me, with the A huge thank you to another lightbender Project Friend,
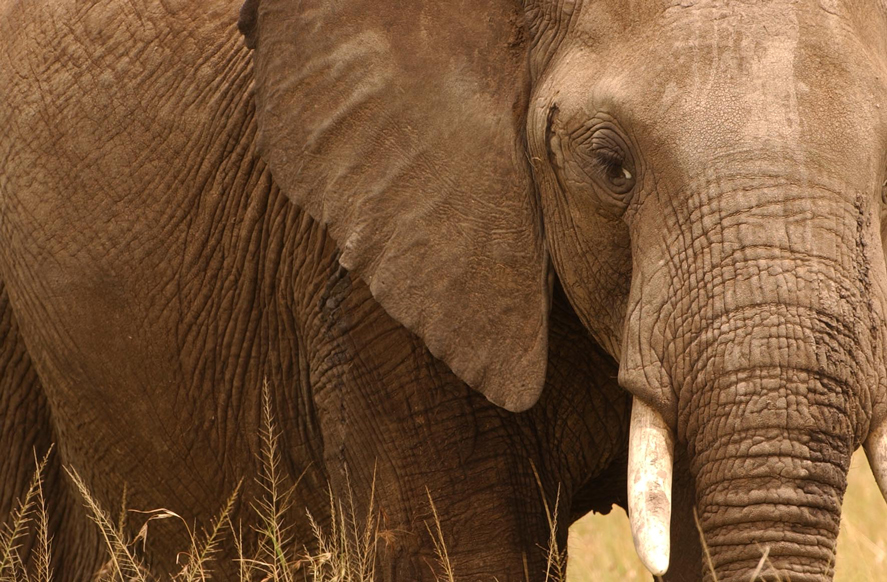
Leon for sharing this great image. This are the two images we are going to work with.
 Lets Manipulate the foreground to match exactly like the BG.
1. Drag the amazon lady image to the elephant.
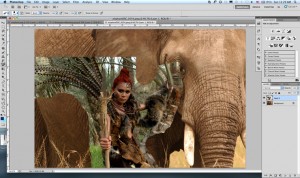
2. Erase or make a garbage mask around the foreground; this is to eliminate excess “garbage” around the image, also to see the placement of the your foreground to the animal.
 3. You can also skip the bullshit i said in no.2 and Directly use your pentool – path to trace your subject. After the labor intensive part; right click on the path to “MAKE SELECTION” radius 1 px.
 4. We can further fix the foreground by clicking on the rectangular marquee tool and choosing refine edge button, set the output with with new layer mask with layer mask, and VIEW on black or any of your choosing. Adjust the image on your liking!
5. We can adjust the elephant image color tone by IMAGE>ADJUSTMENT>LEVEL or CURVES OR HUE and Saturation. This is to make the background blend to the subject.
 6. with some minor tweaks you should be arriving with an image like so. LOL. Sorry I forgot to screen capture the other details but WTF. Its MY First!
7. To achieve the Logo of on the Elephants forehead draw any icon using a black brush or pencil to a new photoshop file.
8. Copy the hair color of the model using the EYEDROPPER Tool. To show continuity of
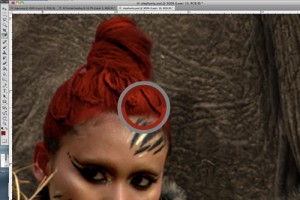
the color red. Using the Paint bucket tool fill your logo design with the color similar to the hair. Select the logo by its color range and drag the selected color to the elephant forehead.  We then follow the elephant’s head bump by warping the logo. EDIT>TRANSFORM>WARP
After all the adjustments. set the logo layer TO HARD LIGHT with 60% Opacity.
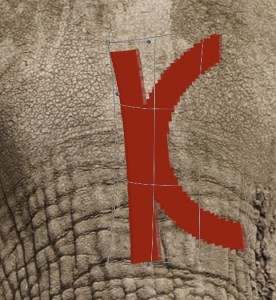
8.  Using the Paint Brush tool on the same logo layer we paint the elephant skin creases with the same color to achieve paint leaks; just for aesthetics. Adjust the image and detail further to your liking.
Final Image should look like these: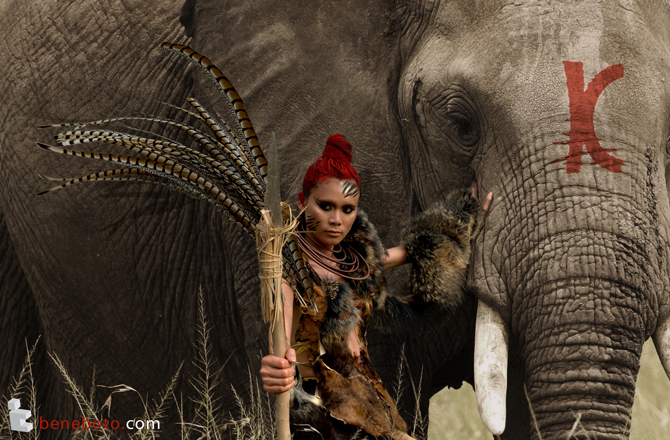
Thanks for bearing! The second tutorial will be on color treatment. As you can observe in the index page the image has a golden tint on it.
Another Personal Project Just Testing My Post-Processing Skills
A Big THANKS to my dear Friend Belle Foronda for Sharing to me this Great Shot.
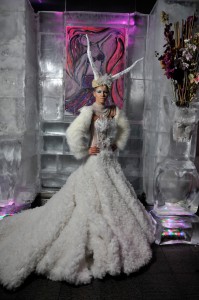
After a ton of layering and Masking and dont forget Hundreds of Dodging; I was able to derived on a High-Key Look that I want.
My Graphic Resume’
Worked with Photoshop | And Illustrator.
A Graphic Ad For Sun Studio Dubai.
You can download these Great Splash Effects HERE!


Recent Comments